
Family-owned · Plainfield Local
4.8 from 53Google reviewsHow to Fix a Leaky Sink Faucet
A practical repair guide for Plainfield, IL homeowners, from shutting off the water to knowing when to call.
Call or text(815) 609-3150Request an estimate
Tell us what you need
What You Need Before You Start
A dripping faucet is easy to ignore, until you hear it at 2 a.m. or see the water bill. The good news: most sink faucet leaks come down to a worn washer, O-ring, or cartridge, and if you have thirty minutes and the right tools, you can fix it yourself. This guide walks through the full repair process, including the mistakes that turn a simple job into an expensive one.
If you run into something more complicated, hidden pipe damage, a leak that won't quit after two attempts, or a faucet that's simply too corroded to rebuild, our plumbing team is available around the clock at (815) 609-3150.
Tools and Materials to Gather First
Adjustable Wrench
Used to loosen and tighten packing nuts and supply line connections under the sink.
Screwdriver
Phillips or flathead depending on your handle screws. Check before you start, wrong tip strips the screw head.
Replacement Washers or O-Rings
Bring the old part to the hardware store if you're unsure of the size. An incorrect replacement will leak just as steadily as the worn one.
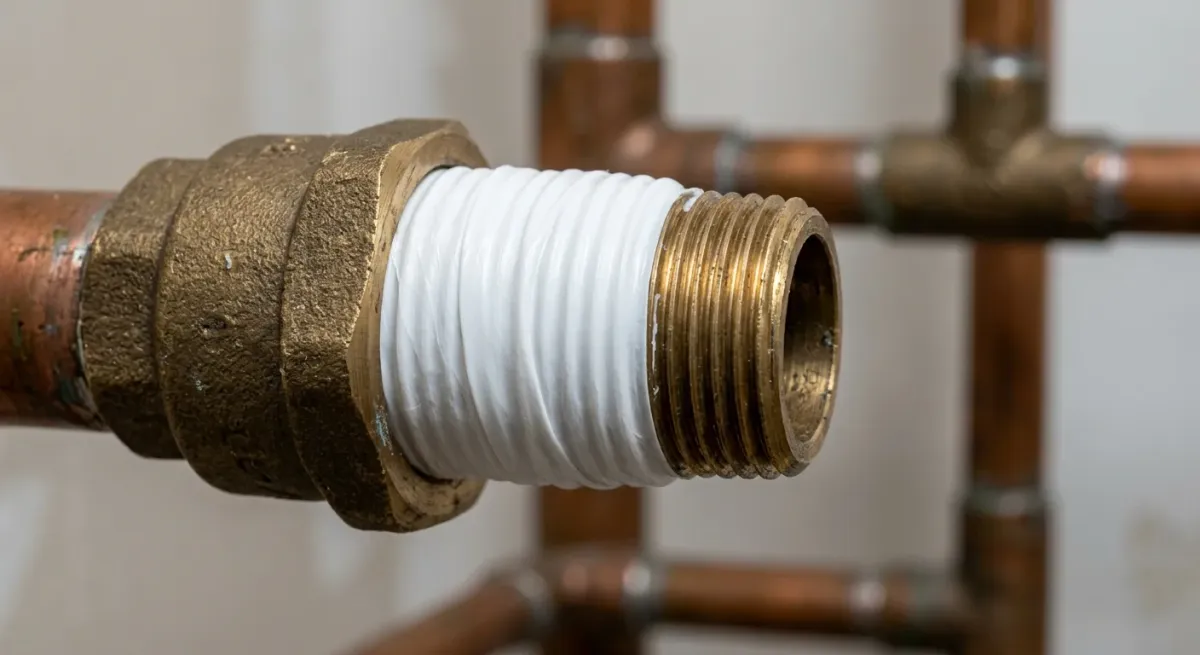
Plumber's Tape (Teflon Tape)
Wraps the valve stem threads before reassembly. Creates a tight seal that keeps leaks from returning at the joint.
Towel or Rag
Lay it under the work area before you open anything. Residual water in the lines will drain out the moment connections are loosened.
The Repair Process, Step by Step
Shut Off the Water Supply
Find the shut-off valves beneath the sink and turn them clockwise until they stop. Open the faucet to release pressure and drain any remaining water in the lines. If there are no under-sink valves, shut off the main supply to the house.
Disassemble and Inspect
Remove the handle screw, lift off the handle, and set it aside. Depending on the faucet type, you may need to unscrew a packing nut to pull out the valve stem. Examine every component: look for cracked washers, compressed O-rings, or a cartridge that's visibly worn. Replace only what's damaged, using parts that match the original exactly.
Reassemble and Test
Before putting anything back together, wrap the valve stem threads with plumber's tape, one full layer, wound in the direction of the threads. Clean all parts, reassemble in reverse order, and hand-tighten before using the wrench. Turn the supply valves back on slowly and watch for drips. If everything is dry, you're done.
Common Errors
Mistakes That Make the Leak Worse
When the Job Calls for a Plumber
Lack of Experience
If you've never worked on a faucet and aren't confident reading the internal components, a professional will diagnose the problem faster and leave you with a working faucet the same day, not a half-disassembled sink.
Complex or Hidden Issues
Some leaks originate behind the wall or at supply line joints that aren't visible from under the sink. A leak showing up in the cabinet floor, not from the faucet itself, points to a supply line or water valve problem that requires a closer look.
Persistent Leaks After Repair
If the drip continues after you've replaced the washer and checked the O-ring, the valve seat may be corroded or damaged. Resurfacing or replacing a valve seat is possible, but it requires tools most homeowners don't have on hand.
Old or Severely Corroded Faucets
A faucet that's showing heavy corrosion on the body or connections may not be worth repairing. A plumber can tell you quickly whether rebuilding makes sense or whether a full replacement is the cleaner fix.
Sewer or Pipe Involvement
Excess water from a long-running faucet leak can contribute to drain blockages or, in older homes, accelerate pipe deterioration. If you've noticed slow drains or water pooling in the basement, that's a separate issue, one worth having assessed before it compounds.
Home Warranty Coverage
If your home is covered by a warranty or service plan that includes plumbing repairs, check whether faucet leaks fall under the policy before you open anything yourself. Some plans require a licensed contractor to perform the repair for the claim to be honored.
Questions About Your Faucet or Plumbing?
Leto Plumbing & Heating has been working on Plainfield homes since 2002.
- ★ 4.8 on Google
- BBB A+
- Licensed & insured
Next step
Tell us about the job
Your name, your number and what needs doing. A person from Leto Plumbing & Heating, Inc. gets back to you.
Rather talk now?(815) 609-3150