
24/7 emergency service Office Mon to Fri, 8 AM to 5 PM
How to Fix a Leaky Shower Faucet

Family-owned · Plainfield Local

4.8 from 53Google reviews

How to Fix a Leaky Shower Faucet

A practical repair guide for Plainfield homeowners, from diagnosis to the final drip-free test.

Call or text(815) 609-3150

Request an estimate

Tell us what you need
No obligation · Responds within 1 business day


By submitting this form you agree that we may contact you about your request and share your name and email address with partner companies for email marketing. We never share your mobile number or text message consent with third parties or affiliates for marketing or promotional purposes.

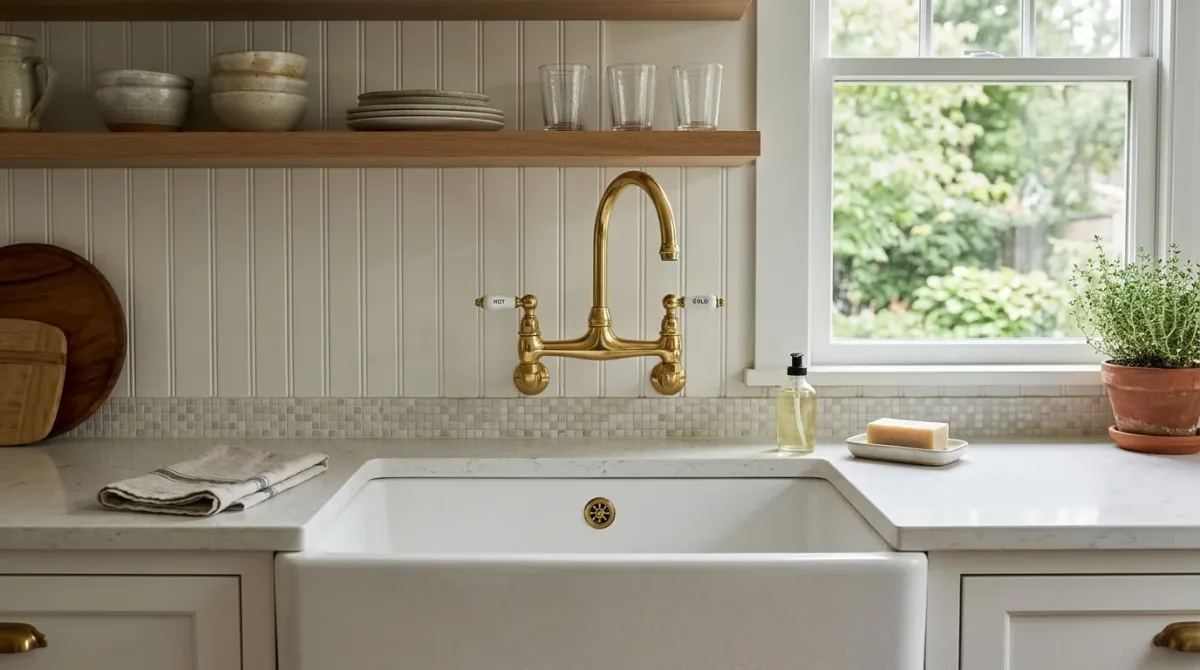
compression faucet work, project example in Plainfield, IL

Start With the Right Faucet Diagnosis

A dripping shower faucet adds to your water bill and wears out the fixture. Most leaks come down to a worn seal or a damaged internal part you can fix yourself with basic tools. If the leak keeps coming back, Leto Plumbing & Heating has handled shower faucet repairs across Plainfield for over 20 years. Call (815) 609-3150, any time of day or night.

Identify Your Faucet Type First

The steps and parts depend on which type you have. If you're unsure, find the model number on the trim plate or the manufacturer's website.

Compression Faucet

Found in older homes. Separate hot and cold handles each press a rubber washer against a seat. Washers wear out and need replacing.
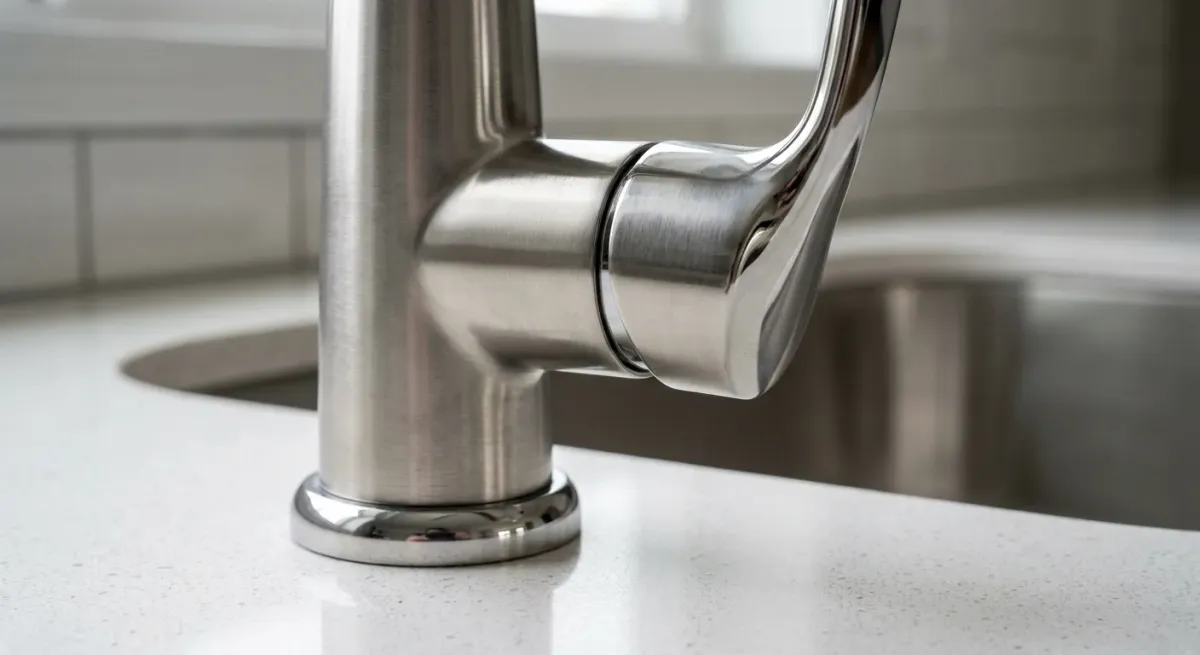
cartridge faucet work, project example in Plainfield, IL

Cartridge Faucet

Single or double handle. A replaceable cartridge controls flow and temperature, and drips when it wears. Cartridges are brand-specific.

ceramic disc faucet work, project example in Plainfield, IL

Ceramic Disc Faucet

A wide single lever over a ceramic cylinder with two discs that rotate against each other. Durable, but they can crack if sediment builds up between the discs.

Ball-Type Faucet

A single rounded handle over a ball-shaped cap. Springs, seats and O-rings in the ball assembly are the usual culprits. Repair kits exist for most brands.

Shut Off the Water and Remove the Handle

Shut off the water to the shower first. The shut-off valve is usually in the bathroom, behind a wall access panel, or in the basement below the bathroom. No dedicated shut-off? Turn off the main. Then open the faucet to drain the line so you don't get sprayed. If you've been meaning to tackle a water valve replacement, note which valves are in play. The handle comes off with a Phillips-head screwdriver or an Allen wrench. Pry off the decorative cap with a flathead to reach the screw, then lift the handle straight off the stem. Drop every screw, washer and clip into a cup. Losing one O-ring means a second trip to the hardware store.
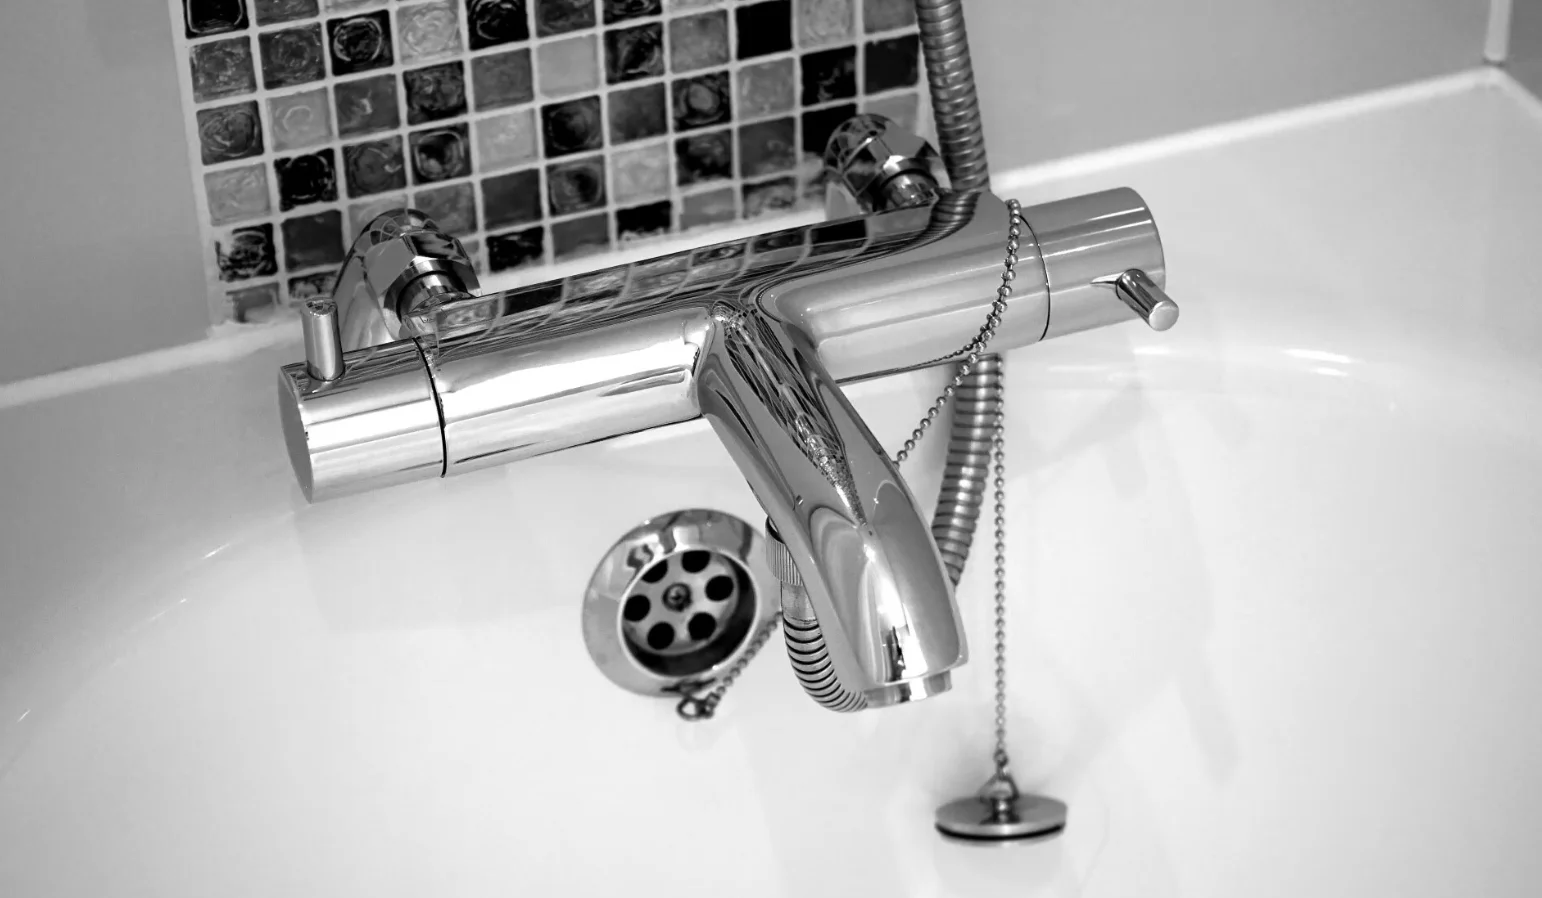
Chrome thermostatic shower faucet with handheld attachment installed in a tiled bathroom.

Inspect Every Component You Remove

With the handle off, pull out the cartridge, ball assembly, ceramic disc cylinder or compression stem and lay the parts on a towel in order. Look for: - Flattened or cracked O-rings - Rubber washers with worn edges or flat spots - Ceramic discs with visible chips or cloudy pitting - Springs that have lost tension - Corrosion or mineral buildup on any metal surface Mineral deposits are common in Will County water, and a short soak in white vinegar loosens most of it. If corrosion has pitted the metal, replace the part. Similar mineral damage at other fixtures can point to a water heater maintenance issue affecting water quality across the house.

Replace What's Worn

Match the Part Exactly

Bring the old cartridge, washer or disc to the store, not a photo. Parts that look identical can differ in stem length or O-ring groove, and the wrong one leaks from day one.

Replace O-Rings as a Set

If one O-ring is cracked, the rest are close behind. Replace them all while it's apart.

Apply Plumber's Grease

Coat new seals and cartridges lightly with silicone-based plumber's grease. Seals last longer and come out easier next time.

Reassemble and Test

Reverse the disassembly, working from the inside out. Replace the decorative cap last.

Don't Overtighten

Snug is enough. Overtightening a retaining nut or compression stem can crack the valve body or shear the seat.

Turn Water On Gradually

Open the shut-off slowly so seals can seat. Let pressure build over 10 to 15 seconds.

Run the Shower for Several Minutes

Some leaks only show at full pressure. Run the shower three to four minutes, then check the valve stem and supply connections.

Professional Help

When the Repair Isn't Holding

If the faucet still drips after new parts, the valve seat may be damaged. You can't see that without a seat wrench, and a badly dressed seat destroys new washers within weeks. A leak behind the wall at the supply connection, or staining on the ceiling below the bathroom, is a pipe problem, not a faucet problem. Recurring leaks can also mean high water pressure, which wears seals faster. Seeing drips at other fixtures? Read why water pressure drops in summer. Don't put off a drip: it can waste thousands of gallons a year. Cleaning aerators once a year, checking under sinks seasonally and regular drain cleaning keep future leaks from starting. Rick and Chris handle shower valve repairs and full valve replacements across Plainfield and Chicagoland, including weekends.

Still Dripping? We'll Take It From Here.

Leto Plumbing & Heating, Plainfield's 24/7 plumber for over 20 years.

  • ★ 4.8 on Google
  • BBB A+
  • Licensed & insured

Next step

Tell us about the job

Your name, your number and what needs doing. A person from Leto Plumbing & Heating, Inc. gets back to you.

Rather talk now?(815) 609-3150

No obligation · Responds within 1 business day


By submitting this form you agree that we may contact you about your request and share your name and email address with partner companies for email marketing. We never share your mobile number or text message consent with third parties or affiliates for marketing or promotional purposes.